7800 Skive
Cooling Aid & Recovery bandage
25 kr.
Bud modtages

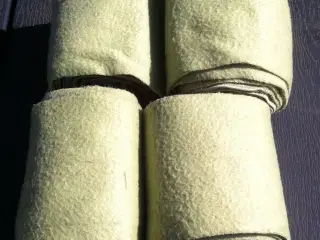
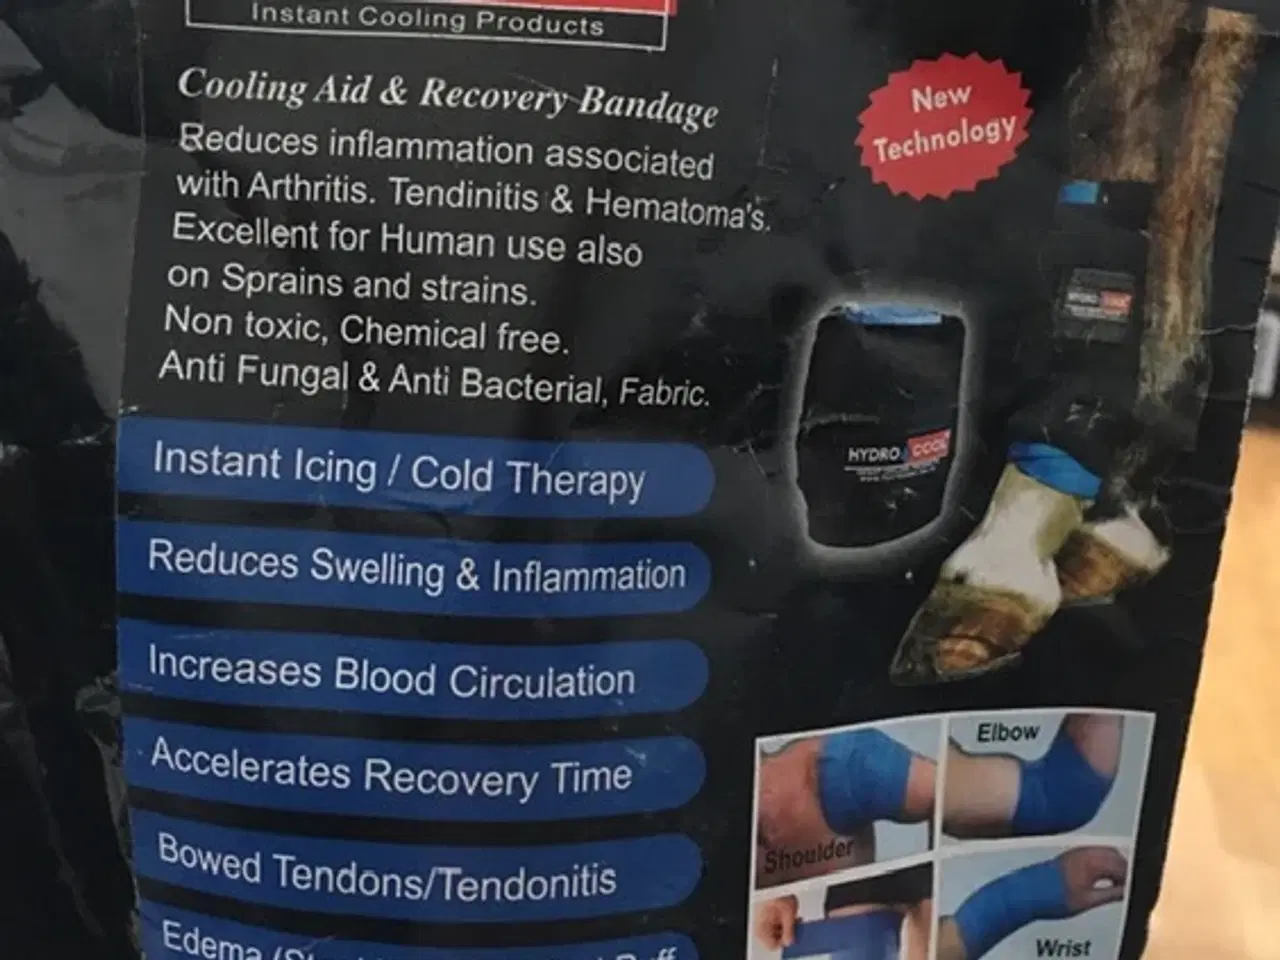
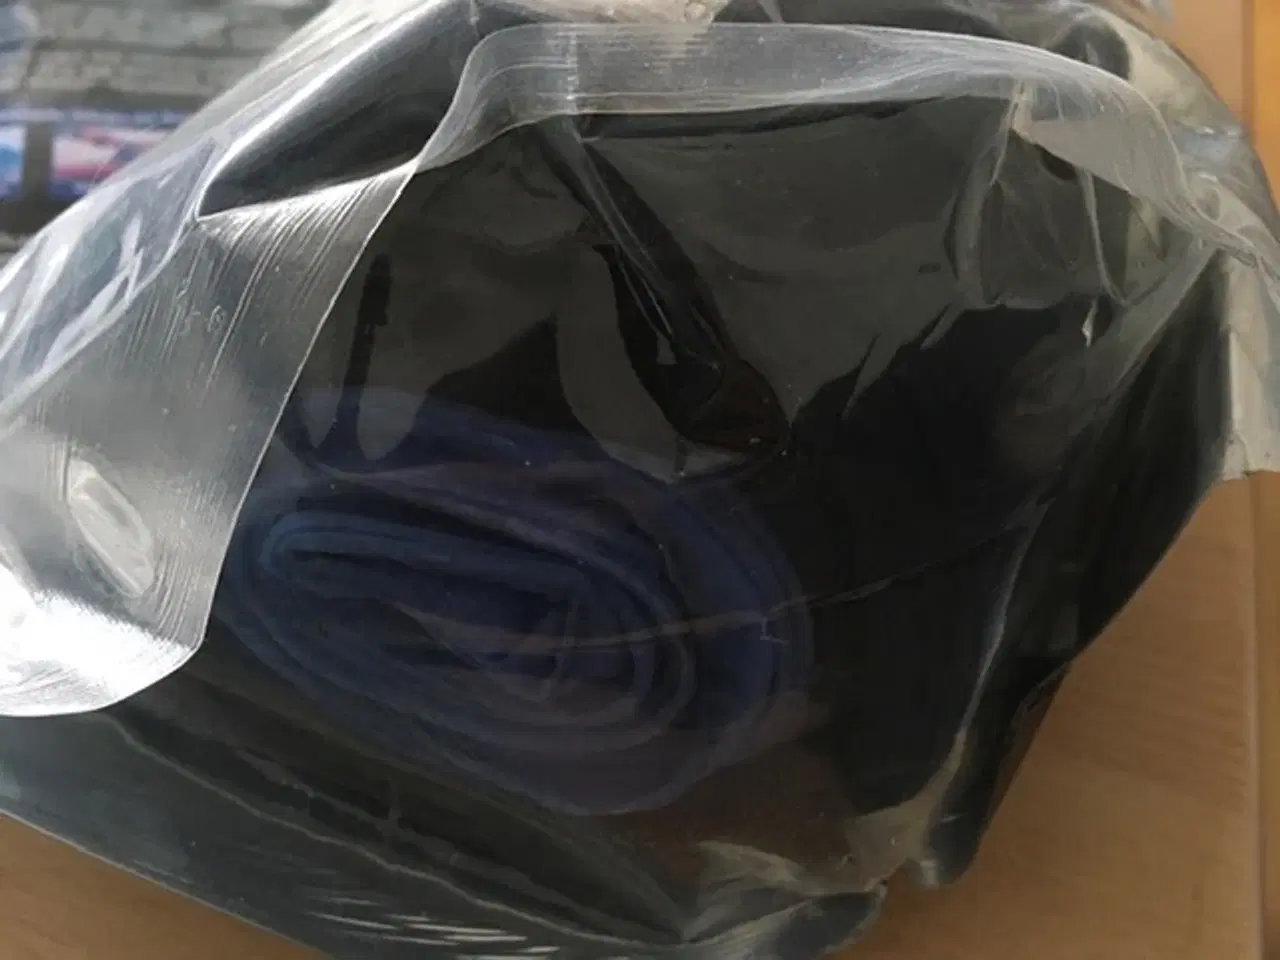
Har 2 stk. Cooling Aid & Recovery bandage Farve Blå, Str. 10 mm x 250 mm Pris per bandage: 25 kr. + evt. forsendelse

Har 2 stk. Cooling Aid & Recovery bandage Farve Blå, Str. 10 mm x 250 mm Pris per bandage: 25 kr. + evt. forsendelse